Are you tired of your old, worn-out cabinets making your kitchen or bathroom feel outdated? If so, a DIY cabinet makeover might be just the solution you need! Transforming your cabinetry can elevate the entire space and breathe new life into your home. With a bit of creativity and effort, you can achieve impressive before-and-after results that not only enhance aesthetics but also reflect your personal style. In this article, we will explore the step-by-step process and key tips for a successful DIY cabinet project, ensuring you not only save money but also gain a sense of accomplishment.
Table of Contents
ToggleMain Points
- Assessing the current state of your cabinets
- Choosing the right materials and colors
- Step-by-step process for the makeover
- Finishing touches to complete the look
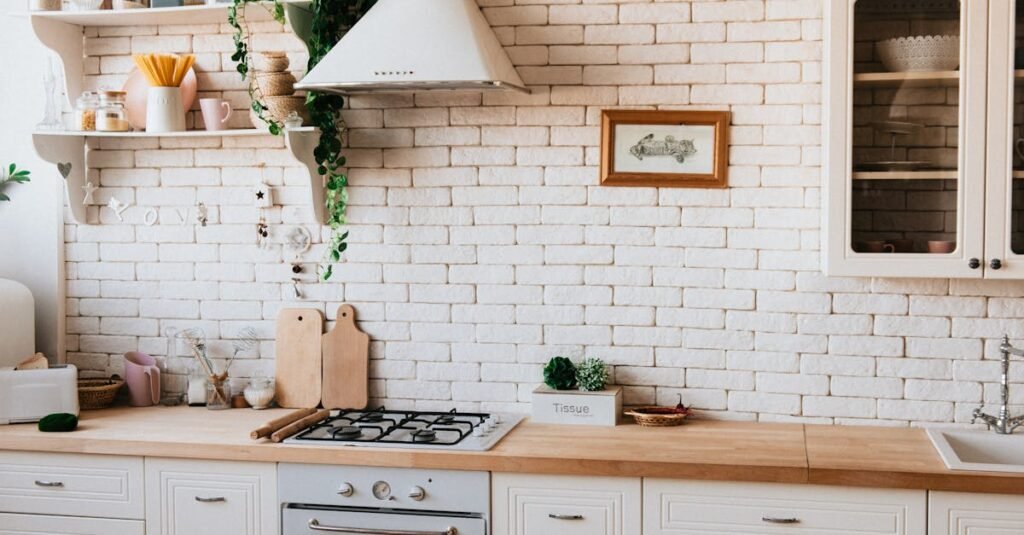
Transform Your Space: The Power of a Cabinet Makeover
A *cabinet makeover* has the potential to redefine your entire environment, especially in a *small kitchen*. By changing colors, styles, or hardware, you can enhance functionality and aesthetics. This transformation not only brings freshness but can also improve organization. Consider the following steps:
- Choose a Style: Select a design that complements your kitchen’s theme.
- Color Matters: Bright or bold hues can create a stunning focal point.
- Update Hardware: Stylish knobs and pulls can drastically alter the look.
Ultimately, a well-executed cabinet makeover breathes new life into a *small kitchen* and elevates your daily cooking experience. Explore various options to match your personality and preference effectively.
Essential Tools and Supplies for Your DIY Cabinet Project
Embarking on a DIY cabinet project requires careful planning and the right tools. First, ensure you have basic tools like a tape measure, level, and power drill. These are essential to achieve precision. Additionally, consider purchasing quality materials such as plywood or MDF for durability. Don’t forget to stock up on hardware like hinges and handles. As you plan, visualize how your improvements will transform your Small Kitchen. This thoughtful approach can make all the difference in your project’s success.
Step-by-Step Guide: Preparing Your Cabinets for Painting
Preparing your cabinets for painting involves a few crucial steps. First, you should remove all hardware and doors. This process allows for a smooth finish. Next, clean the surfaces with a degreaser; dirt can interfere with adhesion. After cleaning, you need to sand the cabinets lightly to promote better paint adherence. Lastly, apply a primer to seal the surface. Remember, meticulous preparation sets the groundwork for a beautiful transformation of your small kitchen!
Choosing the Perfect Paint: Finishes and Colors That Shine
Selecting the right paint can feel daunting, especially with the multitude of finishes and colors available. Understanding how finishes impact the overall look is vital. For instance, a matte finish hides imperfections but challenges cleaning. On the other hand, a glossy finish reflects light beautifully, making spaces appear larger. Choosing colors also requires thought. Warm shades can create an inviting atmosphere, while cool tones often lend a serene vibe. Here are key considerations:
- Small Kitchen: Light colors can expand the space visually.
- Finish type: Consider light reflection and maintenance.
- Color harmony: Ensure your palette creates a cohesive feel.
Ultimately, selecting paint is about personal preference and how it fits your unique space.
Incorporating Hardware Updates: Handles and Knobs That Wow
Revamping your space simply by updating handles and knobs can be truly transformative. These seemingly minor details can dramatically enhance the aesthetic of a small kitchen. Opt for unique designs that add a touch of personality and flair. For instance, consider vintage-inspired or modern geometric styles, as they can create a striking visual impact. Remember, even in a small kitchen, the right hardware can serve as a statement piece. Also, the functionality of these elements shouldn’t be overlooked; practicality matters too.
Choosing the Right Style
Before and After: Inspiring Cabinet Makeover Success Stories
Cabinet makeovers can radically transform a space, turning drab into fab. Homeowners often share their small kitchen stories that showcase the power of color and creativity. One couple rejuvenated their old wood cabinets with a fresh coat of paint, instantly brightening their small kitchen and making it feel larger. Additionally, clever organization helped them maximize every inch, proving that even in a small kitchen, with a bit of effort, significant improvements are achievable.
“Transformation isn’t just about looks; it’s about creating a space that feels like home.”
Keys to Success
Success in a cabinet makeover hinges on choosing the right materials and techniques. Durable paints and finishes can withstand the demands of daily life. Furthermore, innovative storage solutions play a vital role in maximizing functionality. Many find that investing time in planning yields the best results. Ultimately, these inspiring success stories remind us that even modest spaces can shine with a bit of vision and determination.
Maintenance Tips: Keeping Your Cabinets Looking Fresh
Maintaining the appearance of your cabinets is essential for a cohesive kitchen aesthetic. Regular, gentle cleaning can prevent grime buildup. However, it’s important to choose the right cleaners, as harsh chemicals might damage the finish. Here are some tips to keep your cabinets in prime condition:
- Dust Regularly: Use a microfiber cloth to gather dust and debris.
- Wipe Spills Immediately: Clean up any spills quickly to avoid stains.
- Apply Cabinet Polish: A specialized polish can renew shine and protect surfaces.
Following these simple guidelines will ensure your cabinets stay looking fresh and inviting in your small kitchen. Remember, a little care goes a long way!
Related content:
Creative Uses for Base Cabinets in Your Home Design
Conclusion
In conclusion, embracing the concept of a DIY cabinet can truly transform your living space. This hands-on approach not only allows for personalization but also fosters creativity and a sense of accomplishment. Many find joy in crafting something unique that perfectly fits their needs. Furthermore, the satisfaction that comes from seeing your vision come to life is unmatched. While it may seem challenging at first, the process often reveals innovative solutions and styles that might have been overlooked. Ultimately, taking the plunge into a DIY cabinet project is a rewarding experience that enhances both your home and your skills.
Frequently Asked Questions
What materials do I need to build a DIY cabinet?
You will typically need plywood or MDF for the cabinet body, wood glue, screws, a saw, drill, sandpaper, and paint or varnish for the finish.
How do I determine the size of the cabinet I need?
Measure the space where the cabinet will go and consider what you plan to store inside. This will help you decide the height, width, and depth.
Is it difficult to build a cabinet from scratch?
It can be challenging, especially for beginners, but with the right tools, materials, and instructions, it is definitely manageable.
Do I need special tools for cabinet making?
Basic tools like a saw, drill, measuring tape, and screwdriver are usually sufficient. However, specialized tools like a router can assist in creating more complex designs.
Can I customize my cabinet design?
Absolutely! You can customize the size, shape, and finish of your cabinet to fit your style and needs.